If you’re looking for a cheap and eco-friendly way of making coffee, then you’re at the right place.
In this post, you will find out how to make cold brew coffee at home.
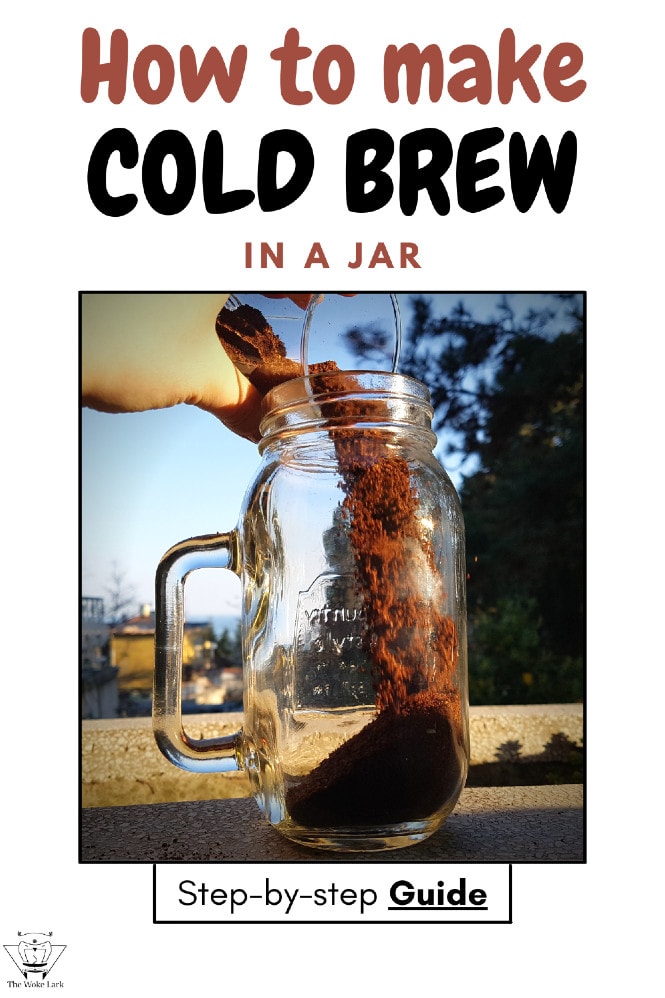
You don’t need fancy equipment – just a mason jar.
Yes, you can improve your brew if you own a grinder and a coffee scale.
Nevertheless, cold brewing is a forgiving beginner-friendly method of coffee extraction, so you can make a tasty cup, even if you don’t have the aforementioned accessories.
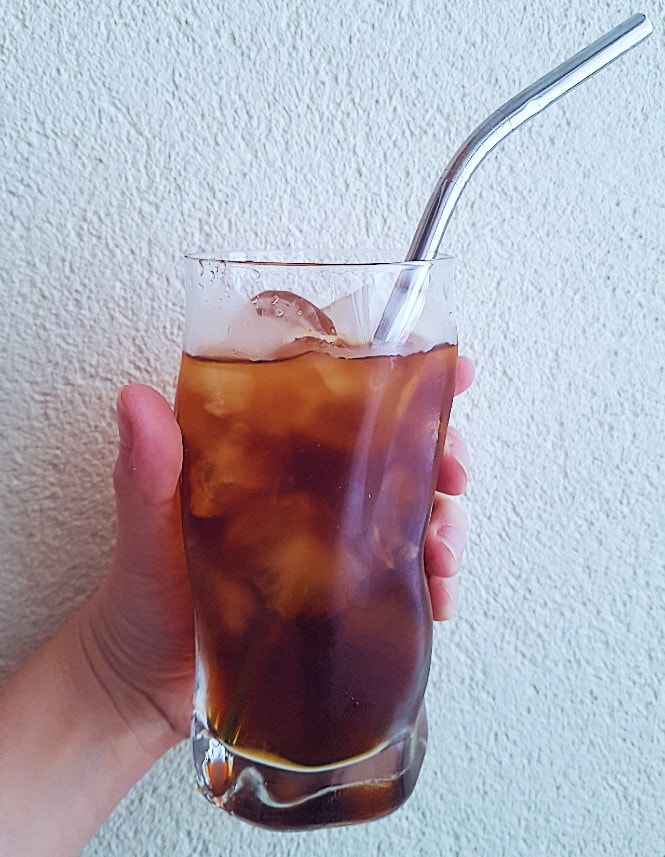
If you’re not a fan of iced coffee, don’t worry – cold brew coffee can also be served hot.
Furthermore, if you’re trying to get used to having coffee without any condiments and sweeteners, cold brew might be the way to go.
This is so because this coffee extraction method results in a well-rounded and smooth coffee with a lower perceived acidity.
This means that you may not feel the need to add any sugar to your morning cup of Joe.
When it comes to its energizing properties – a serving of cold brew usually contains more caffeine than a serving of regular coffee, brewed with hot water (both hot and iced). So it will definitely give you the caffeine kick you need to start your day productively.
As you see, there are many reasons why you may want to make your own cold brew coffee. Through this comprehensive guide, I made sure to represent the brewing process as easy and as accessible as possible.
So without further ado, let’s see how to make the best cold brew coffee concentrate at home.
Cold Brew Coffee-to-water Ratio
Usually, cold brew coffee is prepared with a higher coffee-to-water ratio compared to regular coffee, brewed with hot water.
After you filter the grounds, you will end up with a strong and rich cold brew concentrate, which you can dilute with water or milk.
I prefer making a stronger cold brew coffee concentrate, so the coffee-to-water ratio that I use is 1:6.
This means that I steep 167 grams (5.89 oz.) of coffee grounds in 1 liter (33.8 fl. oz.) of water to make a batch of cold brew.
To prepare a serving, I’d dilute 60 milliliters (2 fl. oz.) of the concentrate with 120 milliliters (4 fl. oz) of water
Occasionally, I’d make cold brew batches with a 1:7 or 1:8 grounds-to-water ratio. This would often happen when I use lightly roasted coffee beans of higher quality. The lower coffee dose will let you extract more of their subtle flavor notes.
I recommend starting out with the 1:8 cold brew ratio. In case the concentrate is too weak for your liking, next time increase the coffee dose.
For your convenience, I made a cold brew ratio chart. It indicates the amount grounds you should use for different water volumes when using the strongest (1:6), medium (1:7), and the weakest (1:8) coffee-to-water ratio.

It’s always better to weigh your beans by using an accurate scale, but I know that not all of you have this coffee accessory at hand.
That’s why I included an approximate estimation of how many tablespoons of ground coffee you should use for your homemade cold brew, depending on the water volume.
Still, if you’re interested in having more control over the brewing process, you can check out my post on scales for coffee. There you will find affordable kitchen scales, that will help you achieve consistently good results batch after batch (for example, this digital scale by Amir).
So here’s the cold brew ratio chart:
| Water | 1 to 6 Ratio Ground Coffee |
1 to 7 Ratio Ground Coffee |
1 to 8 Ratio Ground Coffee |
|---|---|---|---|
| 250 milliliters or 8.45 fl. oz. |
42 grams or 1.48 oz. (5 to 7 tablespoons) |
36 grams or 1.26 oz. (4 to 6 tablespoons) |
31 grams or 1.09 oz. (3 to 5 tablespoons) |
| 400 milliliters or 13.52 fl. oz. |
66 grams or 2.32 oz. (8 to 11 tablespoons) |
57 grams or 2.01 oz. (7 to 9 tablespoons) |
50 grams or 1.76 oz. (6 to 8 tablespoons) |
| 500 milliliters or 16.9 fl. oz. |
83 grams or 2.92 oz. (10 to 13 tablespoons) |
71 grams or 2.5 oz. (9 to 11 tablespoons) |
63 grams or 2.22 oz. (8 to 10 tablespoons) |
| 750 milliliters or 25.36 fl. oz. |
125 grams or 4.4 oz. (16 to 20 tablespoons) |
107 grams or 3.77 oz. (13 to 17 tablespoons) |
94 grams or 3.31 oz. (12 to 15 tablespoons) |
| 900 milliliters or 30.43 fl.oz. |
150 grams or 5.29 oz. (19 to 25 tablespoons) |
128 grams or 4.5 oz. (16 to 21 tablespoons) |
112.5 grams or 3.96 oz. (14 to 18 tablespoons) |
| 1000 milliliters or 33.8 fl. oz. |
167 grams or 5.89 oz. (21 to 27 tablespoons) |
143 grams or 5.04 oz. (17 to 24 tablespoons) |
125 grams or 4.33 oz. (16 to 20 tablespoons) |
| 1500 milliliters or 50.72 fl. oz. |
250 grams or 8.81 oz. (31 to 42 tablespoons) |
214 grams or 7.54 oz. (26 to 35 tablespoons) |
188 grams or 6.63 oz. (23 to 31 tablespoons) |
| 2000 milliliters or 67.6 fl. oz. |
333 grams or 11.75 oz. (42 to 55 tablespoons) |
286 grams or 10.08 oz. (35 to 47 tablespoons) |
250 grams or 8.8 oz. (31 to 42 tablespoons) |
Once you add the ground beans, you won’t be able to fill the mason jar with 500 milliliters of liquid.
If you try to do so, the water will overflow because the grounds take some of the jar’s capacity, leaving space for only 400 milliliters of water. So you should definitely keep that in mind to avoid creating a mess.
Cold Brew Coffee Grind Size
To make cold brew coffee at home, you should use coarse or medium-coarse grind.
In the photo below you can see cold brew grind size I recommend:

The grind above is achieved through the use of a high-quality commercial grinder (Mahlkonig EK43, setting: 14).
Of course, to make cold brew coffee, you can use an affordable manual grinder, such as the Hario Skerton.
Its disadvantage is that it doesn’t provide very good results on coarser settings.
This means that the tiny coffee particles aren’t uniform, which may lead to uneven extraction.
Some smaller coffee particles will get over-extracted, which leads to unpleasant bitterness.
The larger particles will get under-extracted, which results in unpleasantly sour flavors.
An uneven grind has a stronger negative impact on coffee flavor when hot water is used.
So if you’re looking for an affordable entry-level grinder that you can use to make tasty cold brew coffee, then the Hario Skerton is a good option.
If you want a higher-quality grinder, you can check out this post, where you will find great products that grind well on a coarse setting.
It’s always better to grind your beans at home instead of buying pre-ground bags of coffee.
If you don’t want to grind at home, your second best option is to go to your local roaster and ask for a bag of freshly ground coffee beans for cold brew.
The third option would be to buy a bag of pre-ground coffee for cold brew (click the link to check out a post where you can find my top picks in this category).
Yes, in fact, you can!
If you have a bag of regular pre-ground beans, you can prepare a batch of cold brew with them. Just use a half of the coffee dose for the same amount of water.
Furthermore, if you use a fine grind, you shouldn’t steep for longer than 4 to 6 hours.
This means that for a 34 fl. oz. of water you should use 60 grams (8 to 10 tablespoons) of fine ground coffee.
The finer the grind – the quicker the extraction. The lower coffee dose and shorter steeping time will compensate for the fact that you’re making your cold brew with fine coffee grounds.
With that being said, using a fine grind for cold brewing won’t give you the best results in terms of flavor.
How long to steep?
Before, I used to steep the ground coffee beans in cold water for 24 hours to make my cold brew coffee at home.
Most guides recommend a steeping time of 12 to 24 hours.
Nevertheless, I’ve found that you don’t really need 24 hours to make cold brew concentrate.
According to this scientific report you only need to steep the grounds for 6 to 7 hours to fully extract them.
My personal experience has also shown that you get the best-tasting cold brew if you only steep the coffee grounds for 7 to 12 hours.
I’d usually soak the ground coffee in the evening at around 8 P.M. When I wake up in the morning, about 12 hours later, I’d filter the coffee grounds and serve my morning cup of cold brew, by diluting it with either hot or cold water.
Of course, in case you forget your cold brew coffee in the fridge for longer, don’t worry.
Even if left for 24 hours, the concentrate will still be tasty and you’ll get to enjoy it.
With that being said, steeping for 24 hours should be more of an exception, rather than a rule, so stick to my recommendation of 7 to 12 hours of steeping to make the best cold brew coffee.
This peculiar cold water coffee brewing method takes up to 2 minutes and doesn’t involve steeping the grounds for hours.
It’s perfect for those who travel often and need a quick cup of coffee when there’s no hot water available.
You can click here to check out how to make Aeropress cold brew.
Filtering Cold Brew
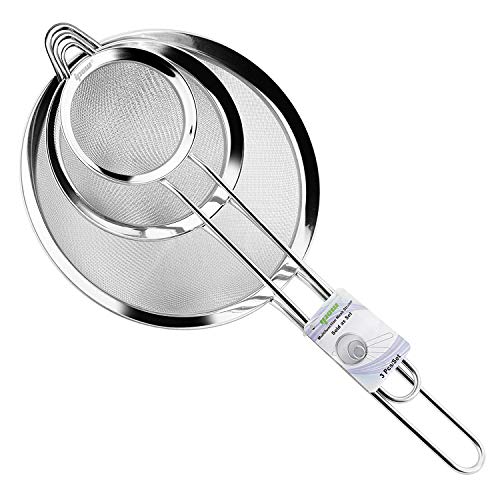
There are a few ways to filter your cold brew coffee after it’s done brewing.
You can use a fine-mesh metal strainer, or a cold brewing bag, such as these by the brand HOMYHEE (click the link to check them out on Amazon).
With that being said, I find that using a piece of double-layered cheesecloth works best for filtering cold brew.

Cheesecloth is made of unbleached cotton fabric. You only need to cut it to size, and you can filter your cold brew with the same cheesecloth piece of fabric over and over again.
Apart from being a sustainable and eco-friendly filter alternative, cheesecloth does a perfect job at filtering your cold brew without letting any fines into the final brew.
On top of that, the liquid passes through the fabric rather fast, making the whole process less annoying.
A piece of cheesecloth is my go-to filter for a cold brew.

After each use, you should rinse the fabric and leave it somewhere to dry.

To avoid mildew growth, you can store your cheesecloth filter submerged in water between uses. The best practice would be to leave it in a jar in the fridge. Once you want to use it, take it out of the water and rinse it thoroughly.
To extend the life of your reusable cheesecloth filter, every once in a while, you should boil it for 10 minutes to dissolve the coffee oil buildup.
Cleaning products, such as the Cafiza also work wonders. Just dissolve 1 tsp. of the Cafiza powder in a glass of water and soak the cloth for 10 minutes. The coffee stains will be gone!
Making cold brew in a French press and using the plunger to filter the coffee grounds is another great option.
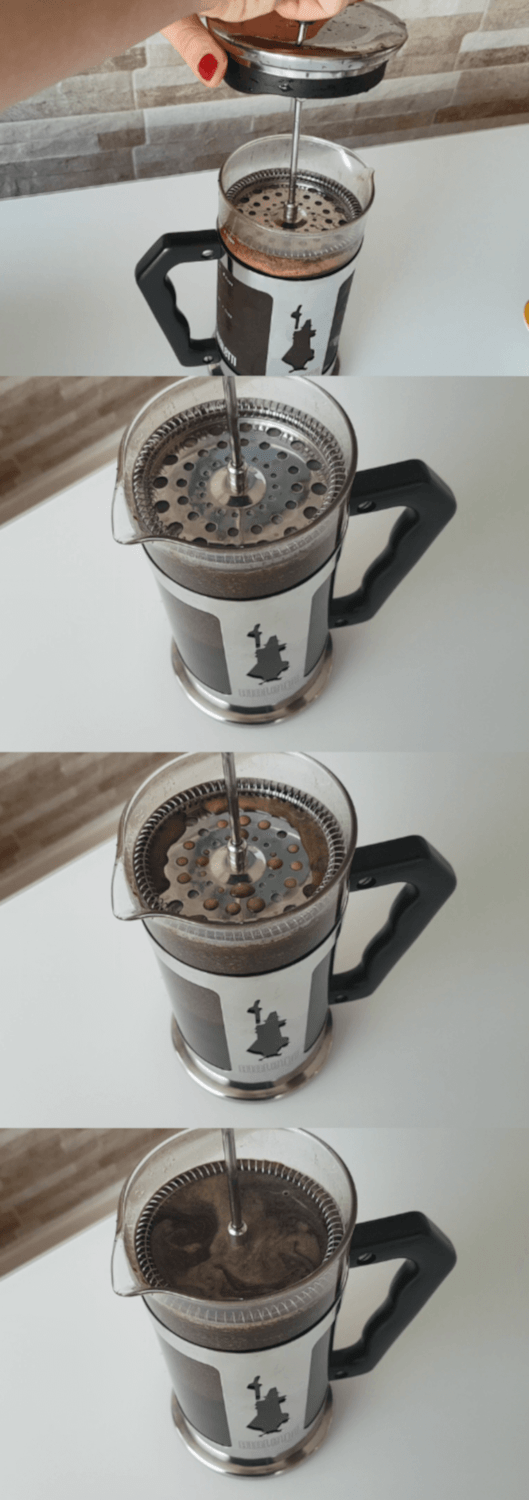
You can click here to check out my step-by-step guide on how to make cold brew with a French press.
How to make cold brew: Step-by-step directions
To make cold brew coffee at home, follow these steps:
- Add the grounds to a mason jar.

- Pour water on top. Don’t use tap water for your homemade cold brew. Use either filtered or bottled water. The best-tasting coffee is always made with water that you enjoy drinking on its own. To learn more, check out my post on the best water for coffee.

- Gently push down the grounds with a spoon. This way you’re making sure they’re all soaked in water.

- Seal the mason jar and place it in the fridge.


- Let the coffee grounds steep for 7 to 12 hours.

- Take the mason jar out of the fridge and remove the seal. You can either stir the slurry to let the grounds sink to the bottom of the jar, or use a spoon to remove the top layer of coffee grounds.

- Filter the cold brew concentrate.

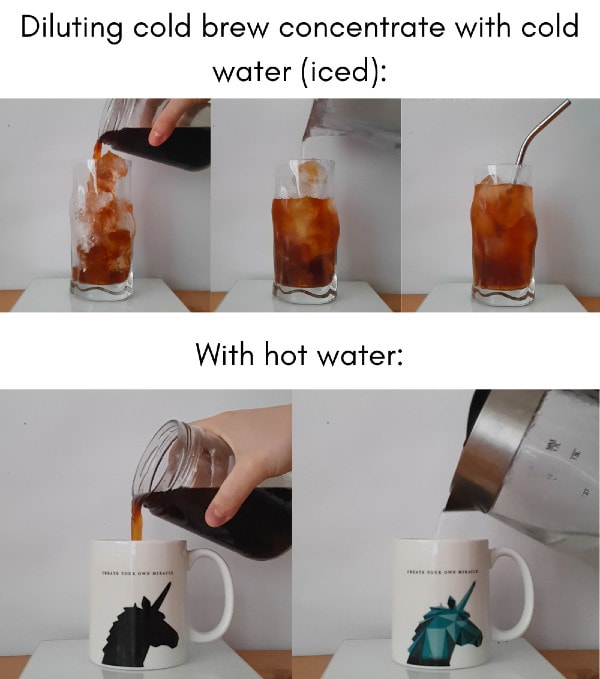
- Prepare a serving by dissolving 2 fl. oz. (60 milliliters) of cold brew with 2 to 4 fl. oz. (60 to 120 milliliters) of water. You can dilute with hot water if you want a hot cup of coffee, or with cold water if you prefer your cold brew served over ice.


You can actually use your cold brew concentrate for many coffee recipes.
For example, you can add a splash of sweetened condensed milk, a splash of cream, or add flavored coffee syrup to treat yourself with a sweet caffeinated drink.

Once you make a serving leave the rest of the cold brew concentrate in a sealed container in the fridge.
I usually make my cold brew in a mason jar that has a maximum capacity of 20.28 fluid ounces (600 milliliters).
On this particular occasion, I brewed according to the 1:8 cold brew ratio, which means that I used 16.9 fluid ounces (500 milliliters) of water and 2.22 ounces (63 grams) of coffee.
After steeping and filtering, I ended up with 11.15 fluid ounces (330 milliliters) of cold brew concentrate. This amount serves me for 5 cups of coffee (in my case, this means 5 days).
How long does cold brew coffee concentrate last?
If stored in the fridge in a sealed container, cold brew concentrate lasts for 10 days.
After the 10th day, your cold brew will still be safe to consume, but its flavors will start to degrade notably.
To preserve the flavor of your cold brew concentrate for longer, keep it in an airtight opaque container.
You can check out my post on thermal coffee mugs where you can find great airtight-sealed travel mugs that are perfect for storing cold brew concentrate.
With that being said, since I usually make smaller cold brew batches, I keep my concentrate sealed in a mason jar in my fridge. I finish it in 5 to a maximum of 7 days, and then I prepare a new batch.
Final Words
I hope that you found my cold brew guide helpful. I made sure to include all the necessary recipe tips that will make the whole process easier for you.
I like this coffee brewing method for many reasons.
It results in an affordable, yet tasty cup, it’s eco-friendly and you don’t need fancy equipment to make a good cup of Joe.
If you buy pre-ground coffee, you only need a mason jar, water, and a filter. To make delicious cold brew coffee at home, you only need a mason jar and a piece of cheesecloth to filter the coffee once it's brewed. If you follow this recipe, you will easily prepare a yummy cold brew concentrate, which you can split into several servings and dilute with iced water, milk, or hot water. As an Amazon Associate and member of other affiliate programs, I earn from qualifying purchases.

If you want to achieve even better results, you can get a grinder and a scale.

Furthermore, cold brew coffee requires following an easy set-it-and-forget-it type of recipe, which matches most of ours fast-paced lifestyles.
Cold Brew Coffee
Ingredients
Instructions
Recommended Products


If living a sustainable lifestyle is a priority of yours, you can reuse your spent coffee grounds for different purposes.
Furhtermore, I’ve actually reused the same coffee grounds for another batch of cold brew and shared the results in this article. You can check it out if you’re interested in finding out what happened.
Anyway, share your experience with cold brewing in the comment section below. You can also ask any questions regarding my guide and this method of coffee extraction.